Scanning the RF frequency
You can run a frequency scan to check the current frequency situation in your surrounding area.
The scan can be initiated:
- via the RF configuration tab to see a small extract without any details or
- via the Frequency Scan tab for a detailed overview of the frequency situation.
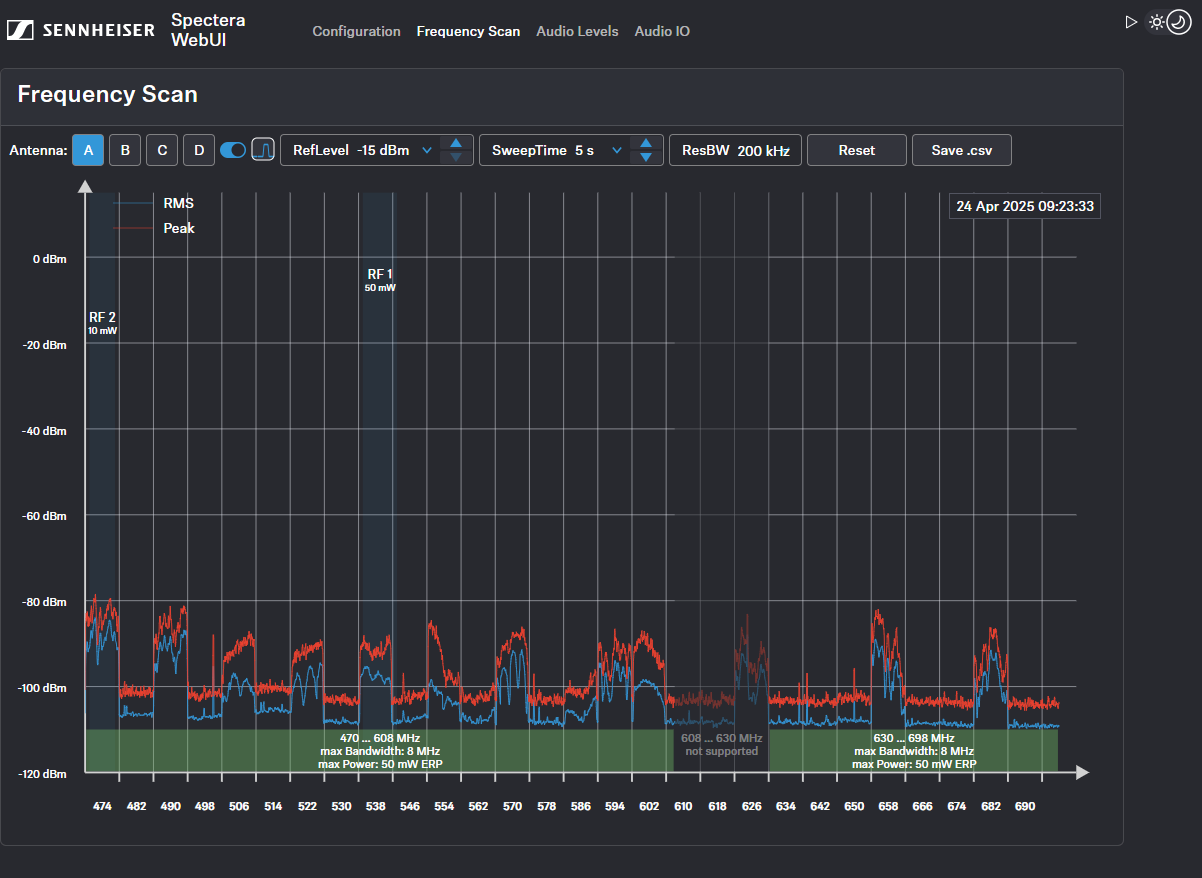
The scan results will be displayed in two different curves:
-
Peak (red) = Maximum value
-
RMS (blue) = Average power or strength

Please note that the antenna must not be assigned to an RF channel before scanning (see Assigning an antenna to an RF channel).
To scan the RF frequency via the RF configuration tab:
- In the top bar, navigate to .Under the RF Scan drop-down menu, there are four toggle switches that enable and disable the scan function for each connected antenna.

-
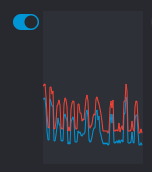
Click on the toggle switch of the antenna to be scanned in order to start an immediate scan.
The square is highlighted with a blue dot and the scan result is displayed in a small frequency curve after approx. 5 seconds.

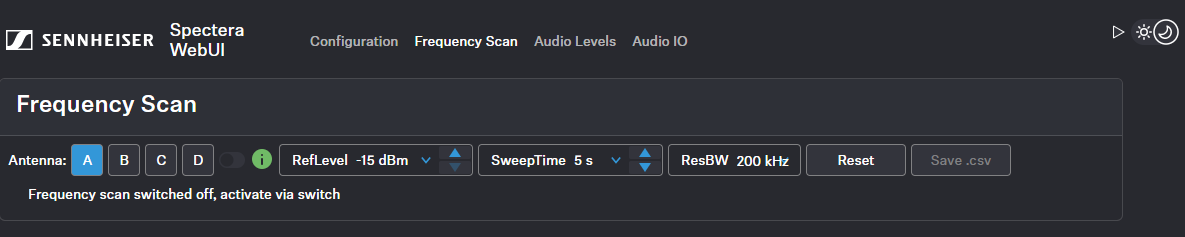
To scan the RF frequency via the Frequency Scan tab:
-
In the top bar, navigate to the tab Frequency Scan.
-
Switch on the toggle to start the scan.
The frequency scan is started and the result is displayed in a detailed frequency diagram. Supported frequency ranges are shown in green and unsupported ranges in gray.
To reset a scan:
To save the scan results as .csv: