
Performing a walk test with the SL Rack Receiver DW on the device
To perform a walk test on the device:
-
From the receiver's System Settings menu, select the Walk Test menu item.
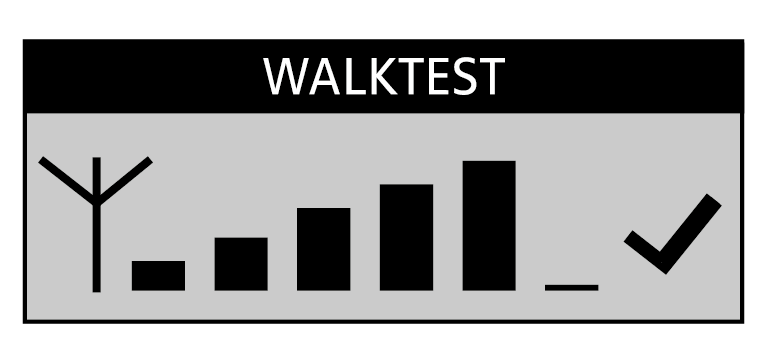
The RF signal level display appears on the display panel of both the receiver and the transmitter.
-
Check the RF signal level display for more detailed information on the reception quality:

Good reception quality is indicated by a tick. If the tick is missing, reception quality is sufficient.

If reception quality is or was compromised at any position, this is indicated by a warning triangle. The warning triangle remains displayed on the display panel even if reception quality improves afterwards.
NO LINK If the radio link breaks down completely, the background of the display panel changes back and forth between light and dark and No Link appears on the display panel.
If the result of the walk test is not satisfying, you can take the following remedial measures:
- If possible, reposition the receivers so that there is always a direct line of sight between the receiver antennas and the paired transmitter.
- If possible, remove obstacles between the transmitter and the receiving antennas.
- When rack mounting receivers, you should mount their rod antenna to the front of the rack using the GA 4 rack-mount kit.
- If you have manually adjusted the transmission power, you may have to readjust it via the receiver's operating menu: System Settings -> RF Power. You can find more information under Multi-room mode.