Mounting microphones on the ceiling

Some microphones in the SpeechLine Wired series are also suitable for mounting on a ceiling panel or a wooden panel on a suspended ceiling.

A) Mounting the MEB 102 boundary installation microphone on the ceiling 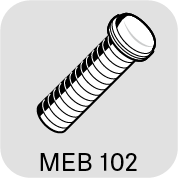
Once you have chosen a position for the product (see Planning the position of the built-in products):
-
Drill a hole with a diameter of 25 mm in the installation surface (panel thickness 10 mm - 65 mm).

-
Slide the second rubber ring onto the thread and tighten the hex nut.

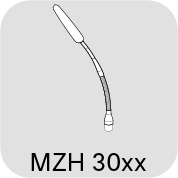
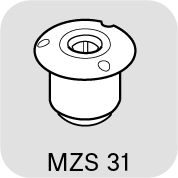
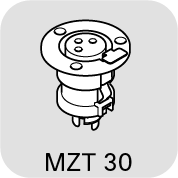
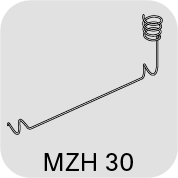
B) Mounting the MZH 3015 gooseneck microphone on the ceiling
-
Screw one of the microphone heads firmly onto the gooseneck to ensure a proper ground connection.

Once you have chosen a position for the product (see Planning the position of the built-in products): -
Drill a hole with a diameter of
- MZT 30 (-L) table installation socket: 24 mm OR
- MZS 31 shock mount table mount: 51 mm

-
Plug the XLR connector of the gooseneck microphone into a corresponding MZT 30 connector or into the MZS 31 shock mount.

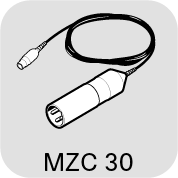
C) Mounting the ME 3x suspended microphone on the ceiling
Once you have chosen a position for the product (see Planning the position of the built-in products):
-
Drill a hole with a diameter of 24 mm in the installation surface (panel thickness 10 mm - 65 mm).

-
Plug the XLR connector of the cable into the connector.

-
Screw one of the microphone heads firmly onto the connector on the cable to ensure a proper ground connection.
