Mounting boundary installation microphones, built-in buttons, switch box: table | lectern
Drilling a hole for boundary installation microphones | built-in buttons in the installation surface 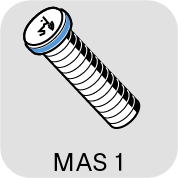
Once you have chosen a position for the product (see Planning the position of the built-in products):
-
Drill a hole with a diameter of 25 mm in the installation surface (e.g. table top, panel thickness 10 mm – 65 mm).

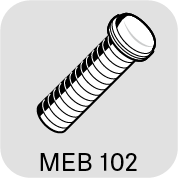
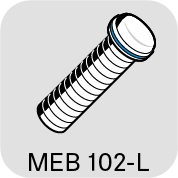
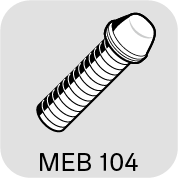
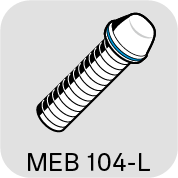
Mounting the MEB 102 (-L) | MEB 104 (-L) boundary installation microphone
-
Slide the first rubber ring onto the thread of the microphone and insert both into the hole.

-
Point the MEB 104 and MEB 104-L microphones toward the speaker. Slide the second rubber ring onto the thread and tighten the hex nut.

Mounting the MAS 1 built-in button
-
Slide the first rubber ring onto the thread of the built-in button and insert both into the hole.

-
Slide the second rubber ring onto the thread and tighten the hex nut.

Mounting the MAS 133 switch box 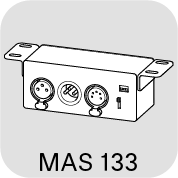
- If necessary, change the orientation of the mounting brackets by loosening the screws and removing the drill hole covers.
- Fix the mounting brackets in the desired position and refit the covers.
- Mark the position of the screws using the drilling template.
-
Secure the switch box using the recessed head screws supplied.
