Overview of the “Professional Setup” window
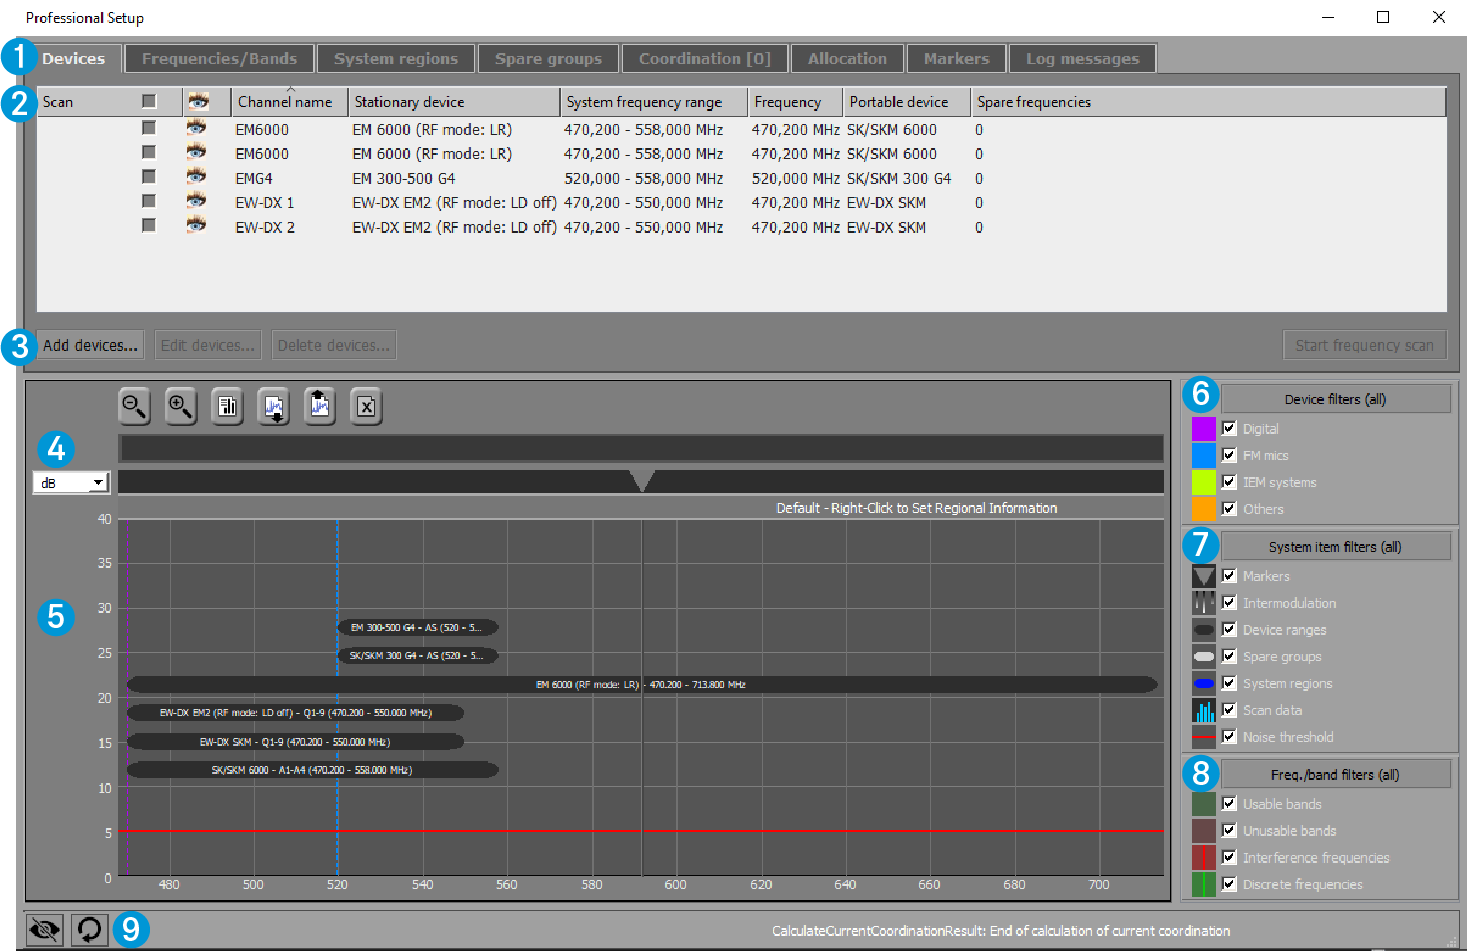
1 Tabs: Devices“, “System regions“, etc.
For detailed information on the tabs, please refer to the section The tabs.
2 Upper window area
Displays the devices, system regions, etc. in list form (the representation displayed depends on the active tab).
The size of the upper and lower window areas can be changed by dragging.
3 Buttons area
The buttons available depend on the active tab. The “Devices” tab, for example, offers you the following options:
- Setting new devices
- Editing already existing devices
- Deleting devices
- Starting a frequency scan
4 List box and buttons of the graphical overview
 Adjusts the RSSI scale of the y-axis: ìV, dB, dBm
 Zooms out/zooms in (shortcut key Win: Ctrl +
↑/↓, Mac: cmd + ↑/↓)
Zooms out/zooms in (shortcut key Win: Ctrl +
↑/↓, Mac: cmd + ↑/↓)
![]() Generates a report
Generates a report
![]() Imports a frequency scan
Imports a frequency scan
![]() Exports a frequency scan
Exports a frequency scan
![]() Deletes a frequency scan
Deletes a frequency scan
5 Graphical overview
Displays devices, markers, intermodulation products, system regions, usable and unusable frequency bands and frequencies.
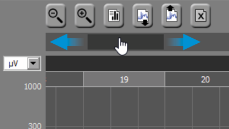
To navigate horizontally (shortcut key Win: Ctrl + ←→, Mac: cmd + ←→):
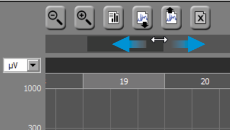
To zoom the visible area in or out:
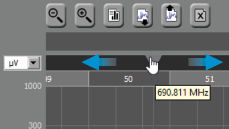
To move the current position to the left/right:
6 Device filters
Views/hides devices, items and frequencies/frequency bands in the graphical overview
7 System item filters
Views/hides devices, items and frequencies/frequency bands in the graphical overview
8 Freq./band filters
Views/hides devices, items and frequencies/frequency bands in the graphical overview
9 "View toggle” icon
Views/hides the graphical overview and the filters
Default view