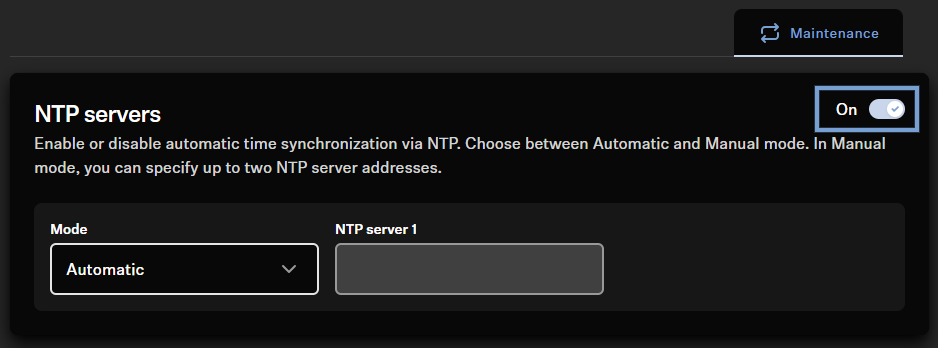
Configuring NTP servers

Switch on NTP servers or temporarily use the browser time.

Note:
Choose between the three different NTP settings:
  1. Auto: The device retrieves the time automatically via the network, typically from the DHCP server or a standard network source. Manual configuration is not required.
  2. Preset: The device uses a predefined NTP server from a stored list. This option enables quick setup without having to enter server details manually.
  3. Manual: The NTP server is configured manually by entering a specific server address. This is used when you want to use a company-owned or custom time server.


To configure an NTP server (Network Time Protocol):
  1. Open your device’s local web UI and switch to the Network tab.
  2. Set NTP servers to On.
  3. When enabled, the system uses the NTP server provided by the DHCP server by default (“Automatic”).
  4. If your DHCP server does not provide an NTP server or you are using a static IP configuration, change the selection in the NTP servers field to “Manual” and enter your NTP server. You can enter either an IP address or a DNS name.
    Note:
    When configuring the time server, the device accepts any address or name that is provided via DHCP or entered manually without checking its reachability or validity. This allows you to preconfigure the device for later use in another environment. If problems occur with time synchronization, ensure that the configured server is reachable and a valid NTP server.
    Note:
    If you cannot use an NTP server, you can sync the device’s time with your browser time by clicking “Use browser time” in the “System time” field.

    Note that this time is only retained until the next restart/shutdown. To establish a connection to the cloud after a restart, you must set the time manually again if you do not use NTP.

The NTP server has been configured.